Radar blind and shadow sectors: find them and record them
Survey both radars in the sea clutter, measure each sector with the EBL, record it, and report the survey.
- Phase 1: The bridge, one piece of equipment at a time
- 5 steps on the bridge
- 3 oral questions
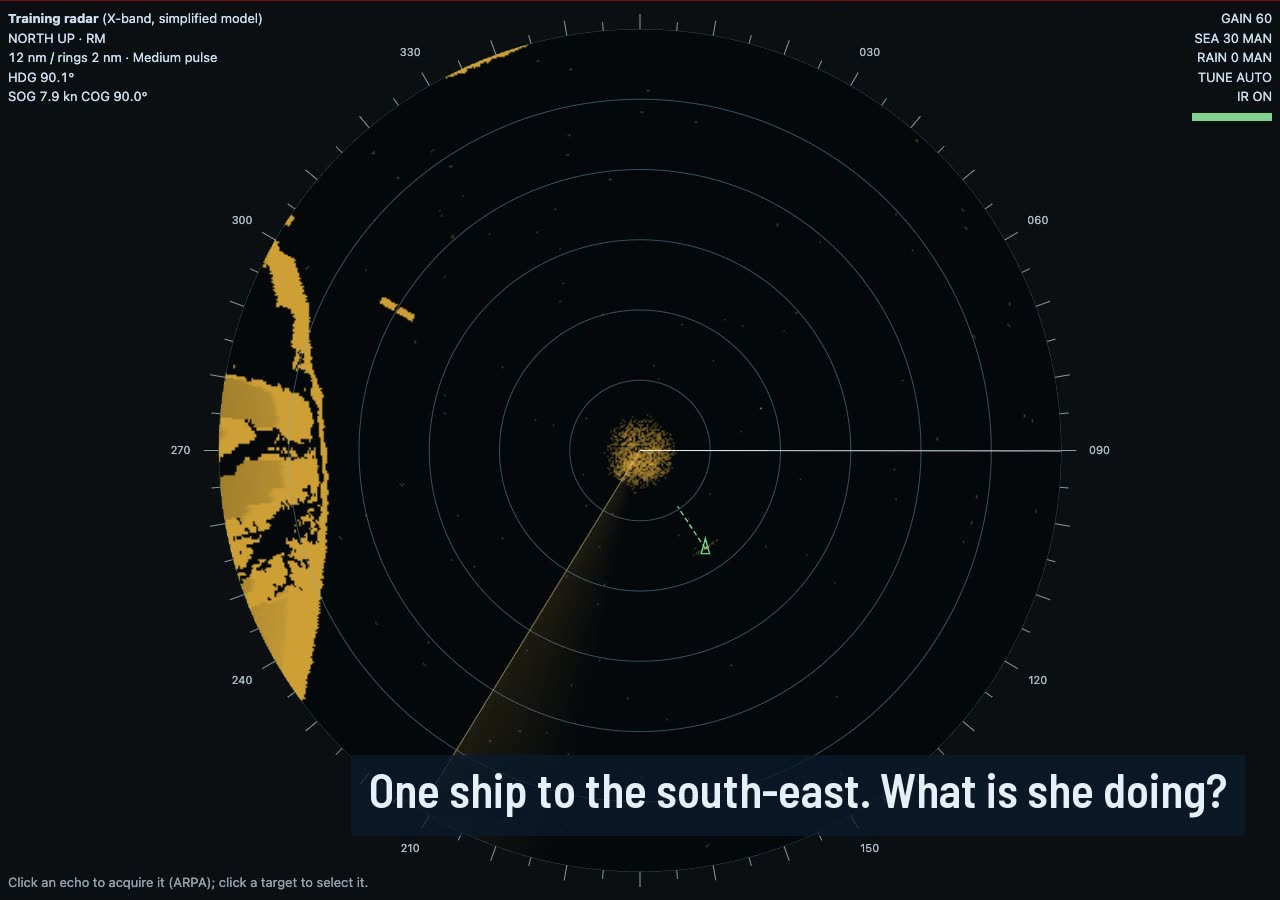
What you do on the bridge
- Both radars transmitting
- Radar 1 sectors
- Radar 2 sectors
- Only what you see
- Report the survey
The oral questions, and what a good answer covers
The key points are in our own words. In the course, these questions come once you have done the job.
What is the difference between a blind sector and a shadow sector, and what causes them?Often asked
A good answer covers:
- Blind sector: an arc where the beam is blocked and nothing is detected
- Shadow sector: an arc where the beam is partly blocked and detection is reduced, so weak targets are lost
- Caused by masts, funnels, other aerials, cranes and structure near the scanner
- The nearer and wider the obstruction, the wider and deeper the sector
Show me on the bridgeLook astern in the sea clutter for the darker wedges.
How would you find a radar's blind and shadow sectors?Often asked
A good answer covers:
- In moderate sea clutter, look for dark or thinned wedges where the clutter should be
- Set the sea clutter so it only just speckles: too much or too little hides a shallow shadow
- Measure the edges as relative bearings with the EBL
- Or swing the ship slowly past a small isolated echo, such as a buoy, and note where it fades and returns
- Record them on a diagram by the display, and repeat the survey after any change near the scanner
You know your radar is blind astern. What does that mean for your watch?
A good answer covers:
- A vessel overtaking from astern may not show until she is close
- Keep a visual lookout over the blind arcs, and use the other radar if it covers them
- Alter course now and then to look into the blind sector
- AIS can help, but not every vessel carries it
How the lesson runs
The tutor's narration from the lesson, step by step. On the bridge, each control lights up as it is named.
Brief
Every radar has arcs it can't see through, behind the mast, the funnel and other aerials. Today the posted diagram is hidden, and we find them ourselves.
There's a fresh breeze from astern, so the sea clutter is strong round the stern, which is where the sectors lie. We survey both radars, record each sector, and report within twenty-five minutes.
Both radars transmitting
Radar 2 was left on stand-by. Put it to transmit, so both sets are running. Each scanner sits in a different place, so each has its own sectors.
Radar 1 sectors
Start with radar 1, the X-band. Set the sea clutter so the clutter only just speckles. Solid clutter hides a shallow shadow, and too little leaves nothing to see it against.
Now look for darker or thinner wedges astern. Put the EBL on each edge, read it as a relative bearing, and record the sector from one edge clockwise to the other.
Radar 2 sectors
Now radar 2, the S-band, the same way. Its scanner is elsewhere, so don't copy radar 1's figures. Its clutter looks different too: set the sea control for this set on its own.
Only what you see
Record only what the picture really shows. A sector written down where there is none sends the next officer looking the wrong way. If you're unsure of one, look again or clear it.
Report the survey
When both radars are done, report the survey complete, within twenty-five minutes. Then the posted diagram is shown, so you can see how close you came.
The rules and guidance behind it
- IMO MSC.192(79) and SN.1/Circ.271: radar performance standards and installation guidelines (blind sectors)
- COLREG Rule 5: look-out
Do it, then explain it.
Read the answers here for free. With a pass you work this lesson on the bridge, then practise its questions and mark your answers.