Radar: setting up from cold
Both radars from cold: scanner check, gain, tune, clutter, monitor, heading line and display modes.
- Phase 1: The bridge, one piece of equipment at a time
- 21 steps on the bridge
- 11 oral questions
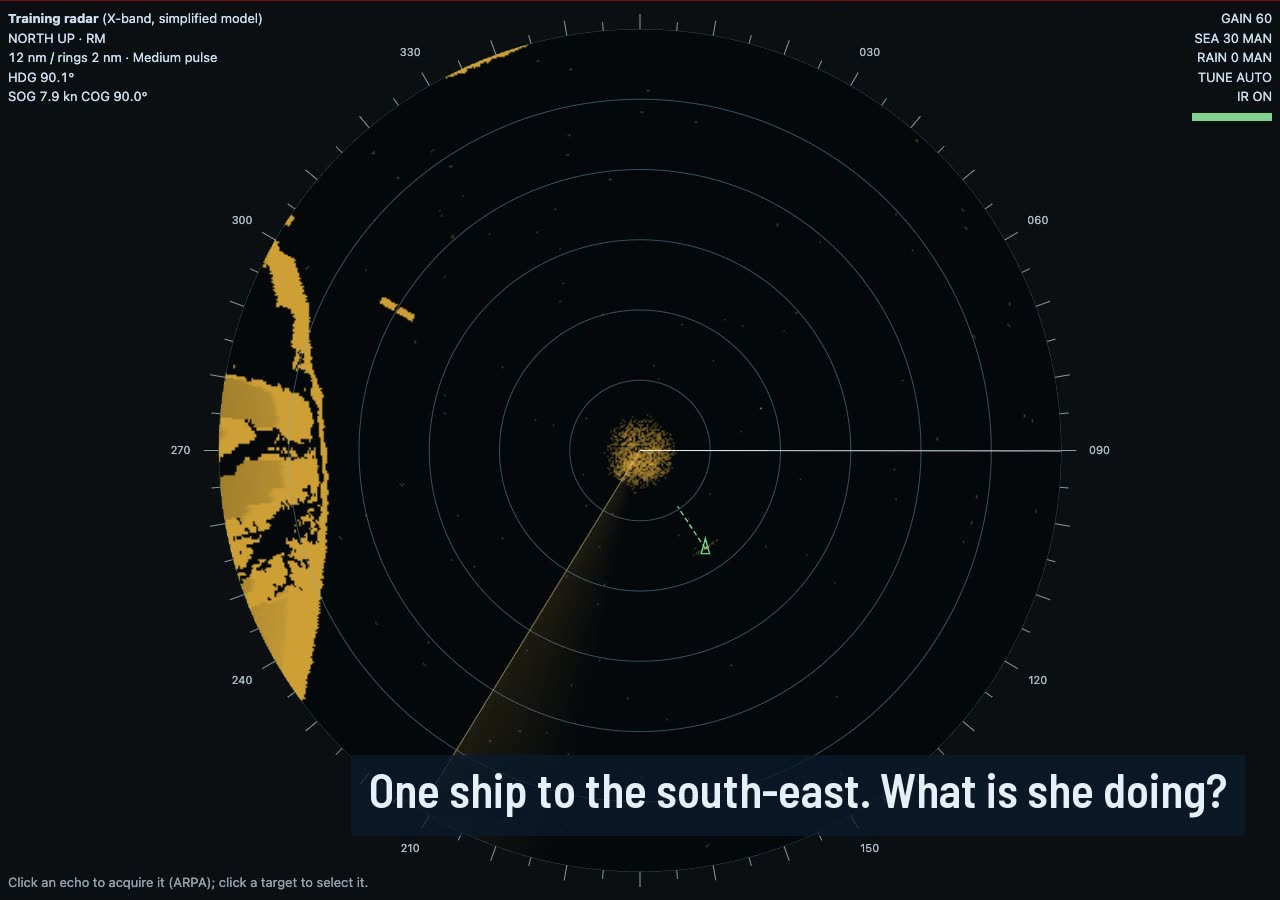
What you do on the bridge
- Scanner area clear
- Open the X-band radar
- Power on
- Heading input
- Speed input
- Range, then transmit
- Brilliance
- Gain
- Tune
- Rain clutter
- Sea clutter
- Performance monitor
- Heading line
- Display mode
- Vectors
- VRM and rings
- Blind sectors
- AIS overlay
- Pulse length and interference rejection
- The S-band
- Report and log
The oral questions, and what a good answer covers
The key points are in our own words. In the course, these questions come once you have done the job.
Set the radar up from cold for navigation and collision avoidance. Talk me through it.Often asked
A good answer covers:
- Check the scanner area is clear of people and obstructions before transmitting
- Switch on, let it warm up to standby, choose a sensible range before transmitting
- Brilliance and palette for the light, then gain, then tune, then rain and sea clutter
- Gain until speckle just shows, then back off until it has just gone
- Least sea and rain clutter that clears the picture, without losing small targets
- Check the performance monitor and the heading line
- North-up, relative motion, sea-stabilised for collision avoidance; speed from the log
Show me on the bridgeBoth sets are cold and left as the night watch had them.
What does a SART look like on the radar, and what would you do? And a racon?Often asked
A good answer covers:
- A SART answers only an X-band (9 GHz) radar
- At range it shows as a line of 12 dots outward along its bearing; the nearest dot can be up to about 0.6 miles beyond the SART, and within about 150 metres when close
- As you close to about a mile the dots become arcs, then circles round the centre very close in
- Treat it as distress: tell the master, report to the rescue coordination centre, and go to assist
- A racon paints a Morse identity letter outward from behind the beacon, so it can be identified on the chart
Show me on the bridgeA SART is transmitting about 7 nm ahead. Look on the 12 mile range.
Sea-stabilised or ground-stabilised: which would you use, when, and why?
A good answer covers:
- Sea-stabilised uses speed through the water from the log; ground-stabilised uses speed over the ground from GNSS
- Use sea-stabilised for collision avoidance: target headings and aspect match what you see from the bridge
- In a stream, ground-stabilised shows a target's course over the ground, which can give the wrong aspect and the wrong action
- Use ground-stabilised for navigation, such as true trails of land and buoys, and anchor watch
Show me on the bridgeA vessel lies stopped in the water ahead in a 2 kn stream. Compare the two modes on her vector.
X-band and S-band radar: what is the difference and when would you rely on each?
A good answer covers:
- X-band is about 3 cm (9 GHz); S-band about 10 cm (3 GHz)
- X-band gives better bearing and range discrimination and sees small targets better
- S-band is less affected by rain and sea clutter and gives better long range detection in bad weather
- Only X-band triggers a SART; racons usually answer both
Show me on the bridgeBoth sets are running. Compare the shower to the south-west on radar 1 and radar 2.
What false echoes do you know, and how would you recognise each one?
A good answer covers:
- Side lobe echoes: an arc or a row of echoes at the same range as a strong close target
- Multiple echoes: evenly spaced echoes on the same bearing beyond a large close target, often abeam
- Indirect echoes: reflected off own ship's structure, appearing on the bearing of the obstruction at the true range
- Second-trace echoes: a distant target returning after the next pulse, shown at the wrong range; they move when the range scale or pulse rate is changed
- Check doubtful echoes by changing range or pulse, and against the chart and the visual picture
Why might you not see a small boat close in on the radar?
A good answer covers:
- Too much sea clutter suppression wipes out small echoes close in
- The boat may be in a blind or shadow sector
- Inside the minimum range of the set
- A small, low, wooden or GRP boat gives a weak echo, lost among waves or rain
- Gain set too low
- So keep a proper visual lookout as well (COLREG Rule 5)
Show me on the bridgeThere is a fishing boat about a mile off. Can you find her?
What are blind and shadow sectors, and what do you do about them?
A good answer covers:
- Blind sectors are arcs where the scanner sees nothing, behind masts, funnels and other structure
- Shadow sectors are arcs where detection is reduced but not lost
- They are found by a survey and recorded on a diagram on the bridge
- Keep a lookout over those arcs by other means, and alter course now and then to look into them
Show me on the bridgeLook for the dark arcs in the sea clutter astern.
What's wrong with this radar picture?
A good answer covers:
- Head-up in traffic
- Gain too high
- Sea clutter too high
- Range too short for the situation
Show me on the bridgeFind every fault on radar 1, then say why each matters.
How long does a radar take to be usable from cold, and what is stand-by for?
A good answer covers:
- From stand-by it transmits again within seconds
- Stand-by keeps it warm and ready without transmitting, for example alongside or with people near the scanner
What does the performance monitor tell you, and how often would you check it?
A good answer covers:
- It checks the transmitter and receiver together and shows a reference pattern on the screen
- Compare it with the pattern recorded when the set was known to be good; a smaller pattern means lost performance
- Check it when taking over the watch, regularly during it, and whenever detection seems poor
- Report a fall in performance and record it
How would you check the heading line alignment?
A good answer covers:
- Pick a small, conspicuous object near right ahead
- Take a visual bearing and a radar bearing with the EBL at the same moment, or put the ship's head on it
- If not, every radar bearing is wrong: report it and have it adjusted
Show me on the bridgeCompare the heading line with a mark right ahead.
How the lesson runs
The tutor's narration from the lesson, step by step. On the bridge, each control lights up as it is named.
Brief
Radar is the instrument you'll lean on most at night and in poor visibility, and a badly set-up radar can be worse than none at all.
We'll set up the X-band first, then the S-band, the way an examiner expects to hear it: a check before switching on, then brilliance, gain and tune, then rain and sea clutter, then the display and the checks.
Scanner area clear
Before transmitting, make sure no one is working aloft near the scanners and nothing is fouling them. Look up, and press 9 to go to the monkey island.
Open the X-band radar
All clear. Now open the radar, and make sure radar 1, the X-band, is selected.
Power on
Switch it on. It goes into warm-up first, while the transmitter heats. A radar should be ready within four minutes of switching on from cold, so this wait is normal.
Heading input
While it warms up, check the inputs. The heading on the display should match the gyro. If the gyro is lost, the radar drops back to head-up, unstabilised.
Speed input
Now the speed. For collision avoidance we want speed through the water from the log, so the picture is sea-stabilised and target headings match what you see out of the window. Set the speed input to the log.
Range, then transmit
When the warm-up is done it goes to stand-by. Before you transmit, choose a range: we're coastal with traffic about, so start on six miles. Then transmit.
Brilliance
First, brilliance. The night watch left it dim on the night palette, and it's daylight now: choose the day palette and bring the brilliance up until it reads easily without dazzling.
Gain
Gain next, and this is the one examiners love.
Turn it up until a fine speckle of noise just appears across the screen, then back it off until the speckle has only just gone. That's the most sensitive picture you can have without noise.
Tune
Tune. On this set it's automatic, and the tuning bar should be close to full. If it isn't, switch to manual and peak it.
Rain clutter
See the shower to the south-west, with a tug somewhere inside it? Rain clutter takes the leading edge of each echo, so it opens up the inside of a shower. Bring it up only until you can see the tug. You may need a touch more gain afterwards.
Sea clutter
Now sea clutter. It turns down the returns close to the ship. Use as little as you can. There's a small fishing boat heading in on the starboard bow, about a mile off; if she disappears, you've used too much.
Performance monitor
Check the performance monitor. It shows whether the transmitter and receiver are working as they should. Switch it on, compare the arcs with what this set normally shows, then switch it off.
Heading line
Check the heading line. Hold the heading line off for a moment to see if there's an echo hiding under it. Then put an EBL on a charted mark ahead and compare it with a visual bearing.
Display mode
Orientation: north-up, gyro-stabilised, so the picture doesn't smear when we yaw, and it matches the ECDIS. Motion: relative, so own ship stays put and a target heading straight for us is easy to spot.
Vectors
Use relative vectors: a target whose vector points at us is on a steady bearing and closing. True vectors come in the ARPA lesson, and trails in the stabilisation lesson.
VRM and rings
Put VRM 1 on at one mile as your guard ring for this watch, and switch the range rings on.
Blind sectors
Remember your blind sectors. On this yacht the mast and funnel cast shadows astern. Show the sector display, and keep a look-out over those arcs by other means.
AIS overlay
Switch on the AIS overlay, but remember AIS shows what ships say about themselves. Radar shows what is really there.
Pulse length and interference rejection
Two more controls to know. Pulse length: a short pulse separates echoes close together, a long one sees further. The range scale chooses it for you, and you can change it. Interference rejection clears the spokes from other radars, but switch it off when you are looking for a SART.
The S-band
Now the S-band, radar 2. Same routine: switch on, and while it warms up set twelve miles. Its longer wavelength sees through rain better and has less sea clutter, so it's our early warning set. Then gain, tune, rain and sea.
Report and log
Both radars are set. You'd tell the Master they're up and running; now note it in the deck log on the bridge.
The rules and guidance behind it
- MGN 379 (M+F) Amendment 1: use of electronic navigational aids
Do it, then explain it.
Read the answers here for free. With a pass you work this lesson on the bridge, then practise its questions and mark your answers.