IALA Region A: a practice channel and a preferred channel mark
Take her up a made-up Region A channel with every red buoy to port, then pass a preferred channel mark on the right side.
- Phase 2: Publications and the chart table
- 3 steps on the bridge
- 3 oral questions
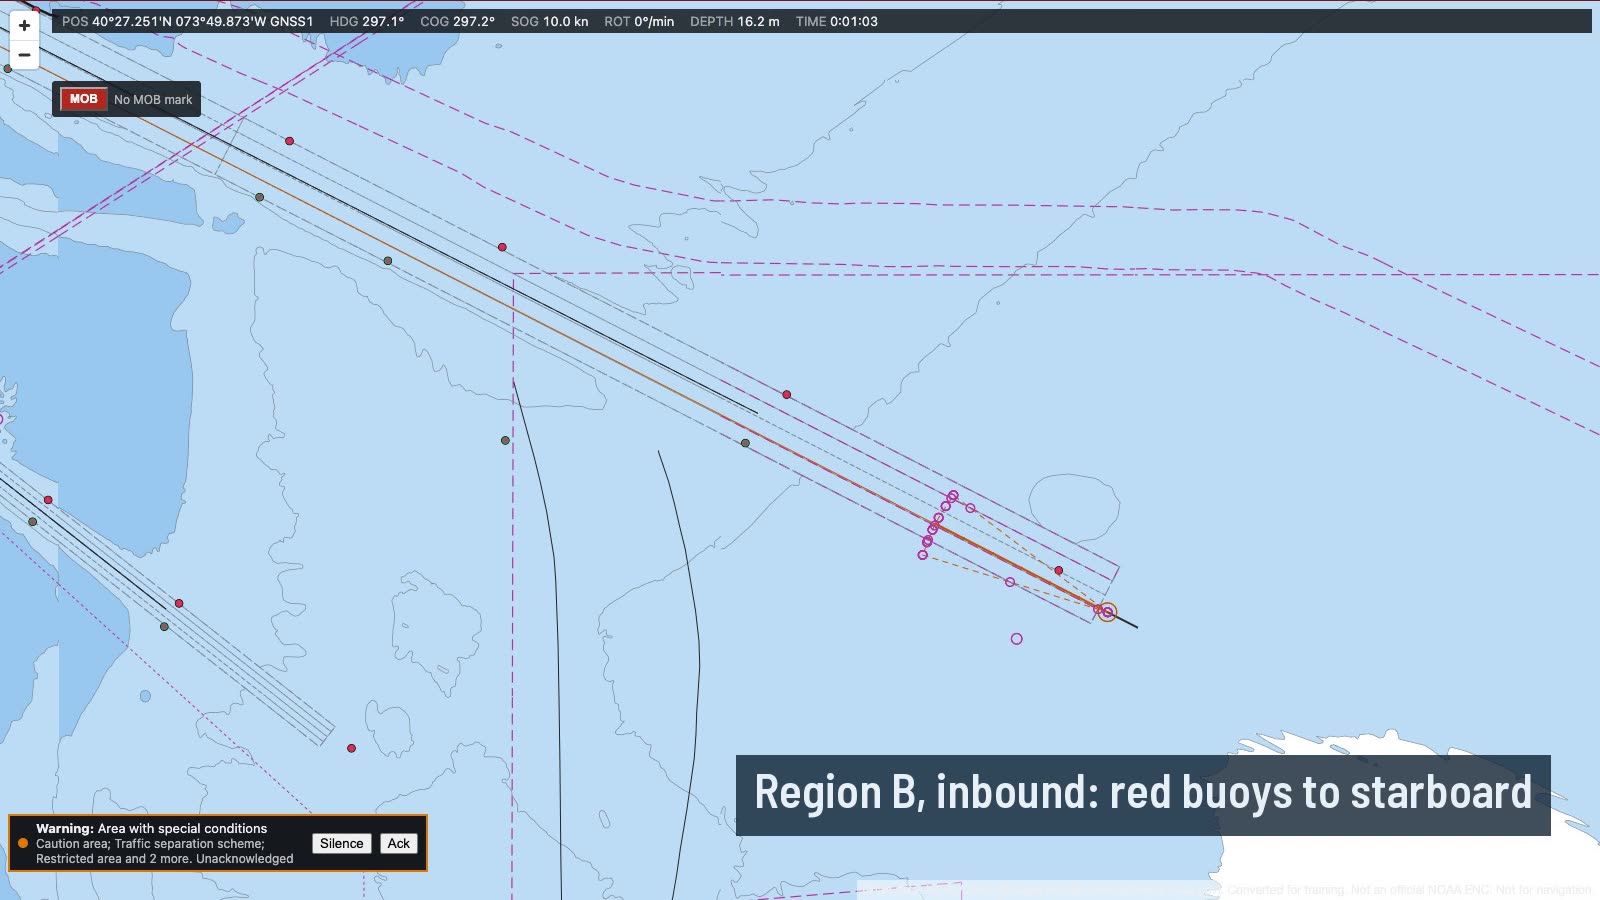
What you do on the bridge
- The first gate
- Up the channel
- The preferred channel mark
The oral questions, and what a good answer covers
The key points are in our own words. In the course, these questions come once you have done the job.
Describe the lateral marks in IALA Region A, by day and by night.Often asked
A good answer covers:
- Port hand marks are red, can shaped, with a single red can topmark if any, and a red light of any rhythm except composite group flashing (2+1)
- Starboard hand marks are green, conical, with a single green cone point up topmark if any, and a green light of any rhythm except (2+1)
- They are left on their own side going in the direction of buoyage: red to port, green to starboard
- Pillar or spar buoys keep the colour and topmark when they cannot take the shape
Show me on the bridgeAhead, the first gate of a made-up Region A channel: red can buoy 2 to port, green cone buoy 1 to starboard.
What does a preferred channel mark look like in Region A, and how do you pass it?Often asked
A good answer covers:
- Where a channel divides, it is the lateral mark of the main colour with one broad band of the other colour
- Preferred channel to starboard: red with a green band, can shaped, red light Fl(2+1); leave it to port
- Preferred channel to port: green with a red band, conical, green light Fl(2+1); leave it to starboard
- Either channel may be used, but the preferred one is the main channel
How do you know which buoyage region you are in, and what changes between them?
A good answer covers:
- Region B: North, Central and South America, Japan, Korea and the Philippines; Region A: the rest of the world
- Only the lateral marks change: in B red is to starboard going in, in A red is to port
- Cardinal, isolated danger, safe water, special and emergency wreck marks are the same in both
- Check the chart and the sailing directions, and the direction of buoyage, before relying on the colours
- A yacht crossing between regions should brief the change, as habit from the last region is a real risk
How the lesson runs
The tutor's narration from the lesson, step by step. On the bridge, each control lights up as it is named.
Brief
New York is Region B, so for this one we've laid a practice channel to Region A rules in open water. The marks are only in the view, not on the ECDIS chart.
In Region A, going in, red can buoys are left to port and green cones to starboard. The shapes are the same as in Region B; only the colours swap.
The first gate
Ahead is the first gate: red can buoy two and green cone buoy one. Take her between them with red to port. Small alterations on the autopilot.
Up the channel
Keep her in the channel: red four and six to port, green three and five to starboard. Check each buoy by its shape as well as its colour.
The preferred channel mark
Next, a red can buoy with a broad green band: a preferred channel mark. Here the channel divides, and the main channel is to starboard of it. Treat it as a port hand mark: leave it to port.
Do it, then explain it.
Read the answers here for free. With a pass you work this lesson on the bridge, then practise its questions and mark your answers.